How to Load Data Products from Microsoft Azure Blob Storage into Snowflake

 Microsoft Azure Blob Storage into Snowflake
Table of contents

One of the most common things people want to do with Snowflake is simple in theory: load their data from cloud storage into a Snowflake table so they can start analyzing it.

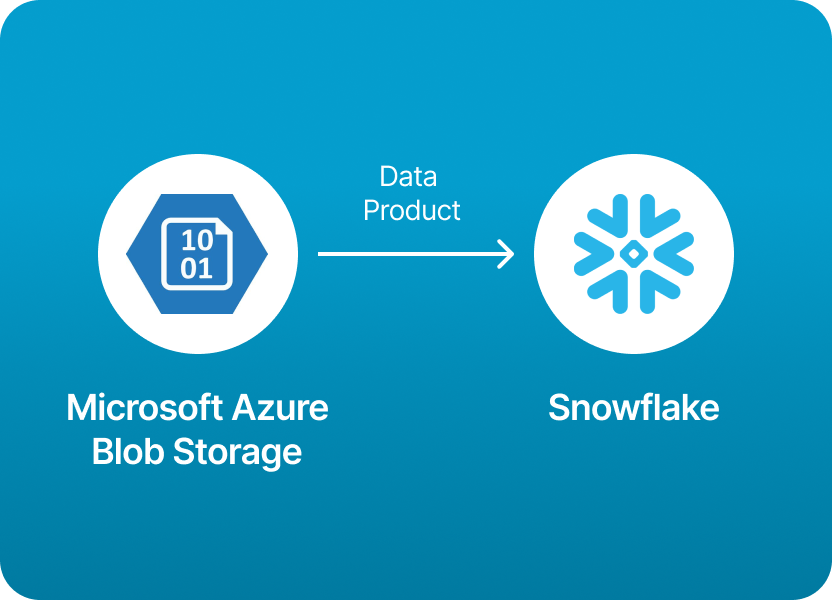
If your team uses Microsoft Azure Blob Storage to store data products - CSVs, JSON files, Parquet datasets - then loading them into Snowflake is a natural next step. After all, Snowflake is designed to be the central hub for analytics, and Azure Blob is one of the most popular and cost-effective ways to store large amounts of raw or processed data.

But here’s the catch: while Snowflake can read from Azure Blob, the process isn’t exactly plug-and-play.

You have to:

  • set up permissions between Snowflake and Azure (often involving cloud admins and service principals),
  • create a storage integration or generate SAS tokens,
  • define stages and file formats,
  • and then write and execute the right SQL commands (COPY INTO, LIST, etc.).

It’s powerful, flexible - and a bit technical. If you’re comfortable with cloud IAM roles, SQL scripts, and debugging permissions errors, the official way works fine. But for many teams, especially those who just want to focus on delivering insights, this level of complexity can be frustrating and slow.

⚡️ A Simpler, Faster Way

The good news? You don’t actually have to wrestle with all those steps anymore.

With Amplify Data, you can easily and securely load data products from Microsoft Azure Blob Storage into Snowflake without worrying about storage integrations, SAS tokens, or complex SQL scripts.

Amplify provides a user-friendly platform that handles all the plumbing for you:

✅ Connect your Azure Blob container

✅ Map your files to Snowflake tables

✅ Automate the ingestion

✅ And start querying your data within minutes

If you’re interested in the nitty-gritty of how it works behind the scenes, keep reading: the detailed steps are below.

But if you just want to save time and focus on your data, check out Amplify Data and skip the complexity entirely.

🧭 Technical Guide to Loading Data Products from Microsoft Azure Blob Storage into Snowflake

1. Upload your data to Azure Blob Storage

You or your team uploads the data (e.g. CSV, JSON, Parquet) to a container in your Azure Storage account.

E.g., your file is at:

php-template
CopyEdit
https://<your-storage-account>.blob.core.windows.net/<your-container>/data.csv

2. Create a Storage Integration in Snowflake (recommended)

You need to give Snowflake permission to read from your Azure Blob.

You can use either:

  • Managed Identity & Storage Integration (recommended)
  • or a Shared Access Signature (SAS) token if you can’t set up an integration.

With Storage Integration:

In Snowflake:

sql
CopyEdit
CREATE STORAGE INTEGRATION azure_int
 TYPE = EXTERNAL_STAGE
 STORAGE_PROVIDER = AZURE
 ENABLED = TRUE
 STORAGE_ALLOWED_LOCATIONS = ('azure://<your-storage-account>.blob.core.windows.net/<your-container>/');

This creates an integration and provides you with an AZURE_CONSENT_URL and an AZURE_MULTI_TENANT_APP_ID.

Your Azure admin must grant consent using that URL and assign the managed identity permissions (Storage Blob Data Reader) on the container.

Check the integration:

sql
CopyEdit
DESC STORAGE INTEGRATION azure_int;

3. Create an External Stage in Snowflake

Once permissions are set up, create an external stage pointing to your blob container.

With Storage Integration:

sql
CopyEdit
CREATE STAGE my_stage
 URL='azure://<your-storage-account>.blob.core.windows.net/<your-container>/'
 STORAGE_INTEGRATION = azure_int
 FILE_FORMAT = (TYPE = CSV FIELD_OPTIONALLY_ENCLOSED_BY='"');

If using a SAS token instead of integration:

sql
CopyEdit
CREATE STAGE my_stage
 URL='azure://<your-storage-account>.blob.core.windows.net/<your-container>/'
 CREDENTIALS = (AZURE_SAS_TOKEN = '<your-sas-token>')
 FILE_FORMAT = (TYPE = CSV FIELD_OPTIONALLY_ENCLOSED_BY='"');

4. Verify files

Check what files are available in the stage:

sql
CopyEdit
LIST @my_stage;

5. Load data into a Snowflake table

Create a target table:

sql
CopyEdit
CREATE TABLE my_table (
 column1 STRING,
 column2 STRING,
 ...
);

Load data:

sql
CopyEdit
COPY INTO my_table
FROM @my_stage/data.csv
FILE_FORMAT = (TYPE = CSV FIELD_OPTIONALLY_ENCLOSED_BY='"' SKIP_HEADER=1);

You can also load multiple files with a pattern:

sql
CopyEdit
COPY INTO my_table
FROM @my_stage
FILE_FORMAT = (TYPE = CSV FIELD_OPTIONALLY_ENCLOSED_BY='"' SKIP_HEADER=1)
PATTERN='.*\\.csv';

Notes:

  • You can also use JSON, Parquet, Avro, etc. - adjust FILE_FORMAT.
  • Consider setting up auto-ingest with Snowpipe if you want continuous loading when new files arrive.
  • Always validate the data after loading.

🛠 Manual Approach

  • Setup & Permissions
    • Configure Azure Blob container and upload your files.
    • Create a Snowflake storage integration or generate a SAS token for access.
    • Grant appropriate IAM roles in Azure (e.g., Storage Blob Data Reader or Contributor).
  • Snowflake Configuration
    • Create external stage pointing to the container (CREATE STAGE … URL='azure://…' with integration or SAS).
    • Define file formats (CSV, JSON, Parquet, etc.).
  • Data Loading
    • Use LIST @stage to verify files.
    • Execute COPY INTO target_table to load - optionally with file patterns, header skipping, etc.
  • Automation & Maintenance
    • For ongoing loads, configure Snowpipe with Event Grid or queue triggers.
    • Monitor load status and re-trigger on failures, manage pipeline objects, IAM roles, and storage costs manually.
  • Pros & Cons
    • ✅ Tight control over formats, SQL, and access permissions.
    • ❌ Can take days to weeks; requires cloud engineers and skilled SQL/infra support.
    • ❌ High operational overhead - scripts to retry failures, manage storage and compute costs, add new containers manually.

⚡ Amplify Data

  • Connection & Setup
    • No complex cloud infra needed. In a few clicks, link your Azure Blob container securely.
  • Mapping & Automation
    • Use a UI to map files to Snowflake tables, apply transformations like column/row filters, renames, types, etc.
    • Automate ingestion with options for scheduled or event-driven loads, all without writing SQL or managing Snowflake stages.
  • Monitoring & Governance
    • Built-in dashboards for real-time ingestion status, usage metrics, alerts, and logs.
    • Self-service access via a data portal makes onboarding new datasets or containers simple and repeatable.
  • Scalability & Support
    • Scales across containers, regions, and data types with minimal admin effort.
    • Pricing is transparent and pay-as-you-go, includes support, and eases hidden costs related to egress, compute, and maintenance.
  • Pros & Cons
    • ✅ Rapid implementation - often minutes to hours, even for non-technical users.
    • ✅ Low operational burden - no scripts or infra maintenance.
    • ✅ Empowers anyone to serve clean, governed data products into Snowflake.
    • ⚠️ If you need deep customization or ultra-tight control over SQL and access, manual may still suit you better.

Final Thoughts

  • If your team needs full control and has the capability to manage Snowflake/Azure integrations and pipelines in-house, the manual route delivers power - but with higher time and operational cost.
  • If your goal is to deliver data faster, reduce ops, empower users, and still maintain governance and visibility, Amplify Data offers a modern, no-code path to get your Azure → Snowflake pipelines running smoothly and efficiently.

Skip the technical steps and load data products from Microsoft Azure Blob Storage into Snowflake easily using Amplify (powered by Monda). Find out more or get a demo.

Monetize your data

150+ data companies use Monda's all-in-one data monetization platform to build a safe, growing, and successful data business.

Explore all features

Related articles

Monda makes it easy to create data products, publish a data storefront, integrate with data marketplaces, and manage data demand - data monetization made simple.

Data Sharing

How to Share Data Products from Snowflake to Google Cloud Storage

Lucy Kelly

Data Sharing

How to Share Data Products from Snowflake to Power BI

Lucy Kelly

Data Sharing

How to Share Data Products from Snowflake to Microsoft Azure Blob Storage

Lucy Kelly

Monda Logo

Grow your business with one data commerce platform.

Get a demo

Be the best informed in the data industry

Sign up to Monda Monthly, the newsletter for data providers, and get thought leadership, product updates and event notifications.