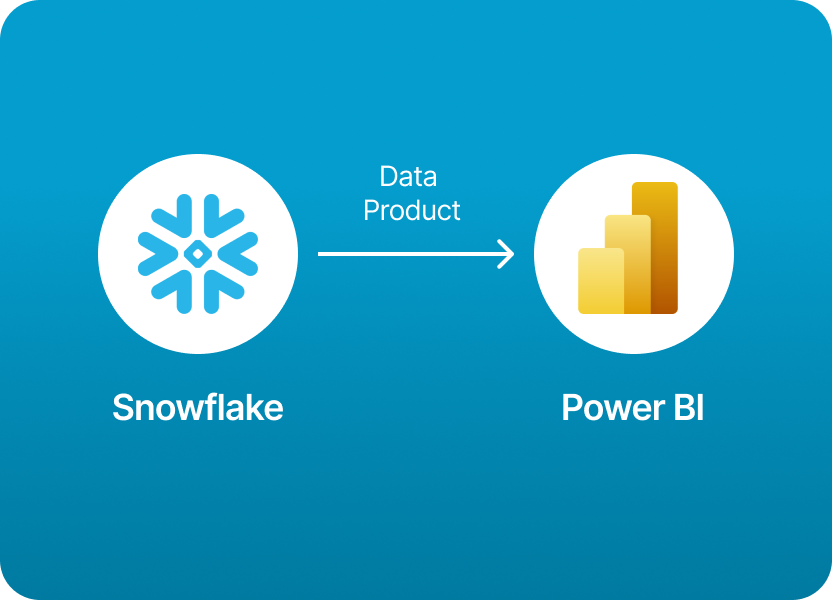
If you're using Snowflake as your cloud data platform and Power BI for dashboards and analytics, you're in good company. This is one of the most common combinations in modern data teams. Organizations rely on Snowflake to model, govern, and store rich data products, and they turn to Power BI to visualize those products and make data-driven decisions.
But here’s the catch: connecting Snowflake to Power BI can get complicated.
From configuring roles and secure views to managing warehouses and setting up authentication across teams, the process of sharing data products often turns into a technical project that eats up time and resources. This can be frustrating, especially when all you want to do is share a curated dataset with a business analyst or stakeholder.
What if you could avoid all the configuration, permissions, and code, and simply share your Snowflake data products to Power BI with just a few clicks?
With Monda Share, you can.
Monda Share offers a streamlined interface for data product sharing. It allows you to define, package, and distribute Snowflake data directly to Power BI or other tools, without touching SQL grants or OAuth settings.
This guide first walks you through the traditional method of connecting Snowflake to Power BI so you understand the technical steps involved. Then it shows how Monda Share simplifies the entire process and saves you time.
Let’s get started.
To share data products from Snowflake to Power BI, you need to establish a connection between Snowflake and Power BI, configure access properly, and publish your visuals or datasets. Here's a step-by-step guide:
sql
CopyEdit
GRANT USAGE ON DATABASE your_db TO ROLE power_bi_role;
GRANT USAGE ON SCHEMA your_schema TO ROLE power_bi_role;
GRANT SELECT ON VIEW your_view TO ROLE power_bi_role;
Power BI connects to Snowflake using:
To enable:
<account>.snowflakecomputing.com)sql
CopyEdit
CREATE SECURITY INTEGRATION azure_oauth_integration
TYPE = OAUTH
ENABLED = TRUE
OAUTH_CLIENT = 'EXTERNAL_BROWSER'
OAUTH_CLIENT_TYPE = 'CONFIDENTIAL'
...
abc12345.us-east-1.snowflakecomputing.com)If you're sharing with external parties:
Manually sharing data products from Snowflake to Power BI gives you full control, but it comes at a cost. You need to manage access permissions, create secure views, configure roles, and set up connections in both Power BI Desktop and the Power BI Service. Authentication can involve setting up OAuth, managing credentials, and sometimes working across IT and data engineering teams. This method works, but it is technical, slow to scale, and often a barrier for business users.
Monda Share eliminates the manual steps and complexity. With a visual interface designed for data product distribution, Monda Share lets you package and share Snowflake data directly to Power BI in just a few clicks. There’s no need to write SQL grants, manage authentication settings, or coordinate with multiple teams. You can define access, track usage, and control refresh behavior all from one platform. Monda Share is purpose-built to make Snowflake data easy to share and consume across the organization.
Monetize data, fuel AI: More than 150 companies use Monda's all-in-one data monetization platform to turn data into products into revenue.
Explore platformMonda makes it easy to create, customize, and share AI-ready data products. Find out more about data sharing and company news on our blog.
Sign up to Monda Monthly to get data & AI thought leadership, product updates, and event notifications.
Monda is ISO/IEC 27001:2022 certified for its Information Security Management System (ISMS) and partnering with global leaders in data and AI.